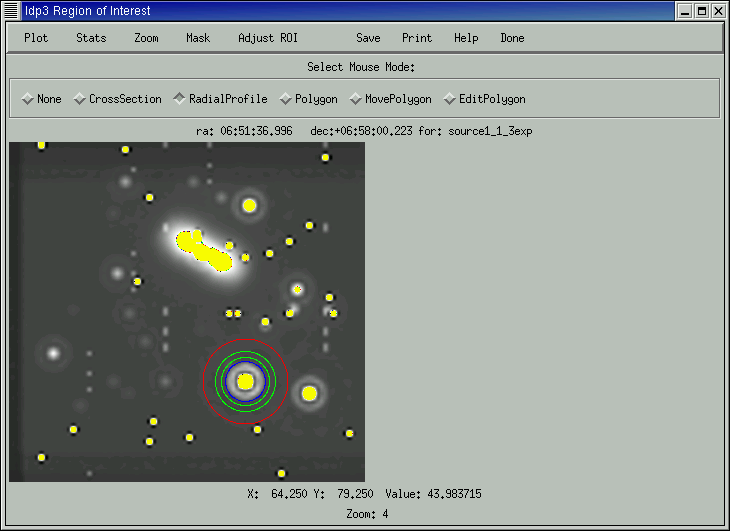
To do aperture photometry, the first thing to do is get a radial profile of a star. Draw a circle around a star in the ROI window while the mouse is in Radial Profile mode. After the Radial Profile widget pops up, Calc FWHM and Centroid.
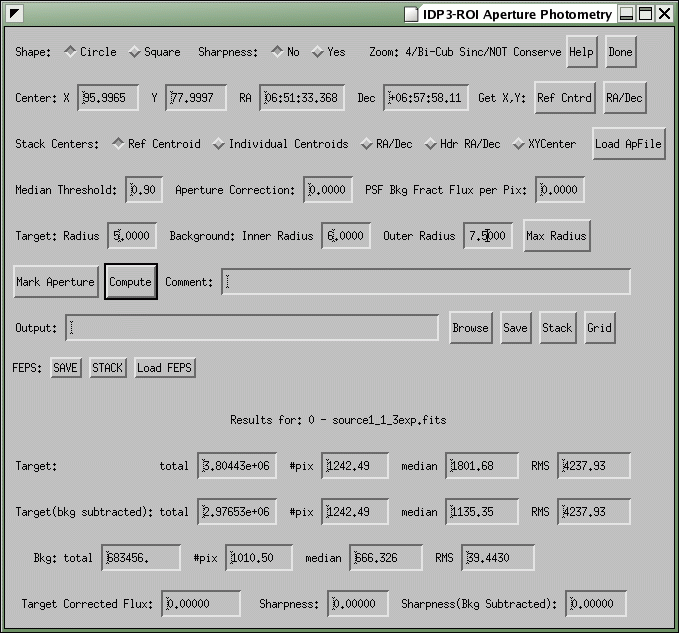
On the ROI Window, go to . The Aperture Photometry Window has now appeared. Get the Ref Cntrd the center coordinates of the centroid.

To get the needed radii, look at the graph of the Radial Profile as well as the ROI. The Target Radius should be the smallest, located just outside the Airy Ring. The inner and outer radii will form an annulus of pure background. So the inner should be out a bit from the Target Radius, and the outer should be still larger than that.
Now hit the Compute button, and the fluxes, number of pixels, medians, and RMS errors will be displayed for the Target, the Target without the background, and the Background. The Target numbers refer to the area inside the target radius. The background comes from the area between the inner and outer radii.
The Sharpness is the ratio of the sum (good pixels)^2 to the (sum of good pixels)^2. If you choose "Yes" after "Sharpness" on the top line, this will be computed for both with and with out the background.
You can also Save a text file with Target, Background, and Sharpness information. You can also append any Comments you would like to the end of the file. Select which file you want the information put by either typing the name in Output or by using the Browse option.
The Stack will also compute the target flux with and without background and the background flux for each of the images in the stack. These results can also be saved to a text file.
On the ROI Window, the Target radius will appear in blue, and the background ring in green.
